阅读完需:约 4 分钟
密码模式(Resource Owner Password Credentials Grant)中,用户向客户端提供自己的用户名和密码。客户端使用这些信息,向”服务商提供商”索要授权。
在这种模式中,用户必须把自己的密码给客户端,但是客户端不得储存密码。这通常用在用户对客户端高度信任的情况下,比如客户端是操作系统的一部分,或者由一个著名公司出品。而认证服务器只有在其他授权模式无法执行的情况下,才能考虑使用这种模式。
它的步骤如下:
(A)用户向客户端提供用户名和密码。
(B)客户端将用户名和密码发给认证服务器,向后者请求令牌。
(C)认证服务器确认无误后,向客户端提供访问令牌。
接下来的代码是在上篇文章授权码模式的基础上改造。
首先对 auth-server 进行改造,使之支持 password 模式:
    //客户端详细信息服务配置
    @Override
    public void configure(ClientDetailsServiceConfigurer clients) throws Exception {
        clients.inMemory()//在内存中
                //用户
                .withClient("xjh")
                //密码
                .secret(passwordEncoder.encode("123"))
                //资源编号
                .resourceIds("res1")
                //授权的赠款类型 authorization_code 授权码模式,refresh_token 刷新Token , implicit 简化模式 , password 密码模式
                .authorizedGrantTypes("authorization_code","refresh_token","implicit","password","client_credentials")
                //范围
                .scopes("all")
                //自动批准
//                .autoApprove(true)
                //重定向Uris
                .redirectUris("http://localhost:8082/implicit.html","http://localhost:8082/password.html");
}这里其他地方都不变,主要是在 authorizedGrantTypes 中增加了 password 模式。
由于使用了 password 模式之后,用户要进行登录,所以我们需要配置一个 AuthenticationManager,还是在 AuthorizationServer 类中,具体配置如下:
    @Autowired  //这个是 SecurityConfig文件 里面的配置 是Security的
    AuthenticationManager authenticationManager;
//授权服务器端点配置器
    @Override
    public void configure(AuthorizationServerEndpointsConfigurer endpoints) throws Exception {
        endpoints //认证管理器 密码模式用的
                .authenticationManager(authenticationManager)
                //授权码服务
                .tokenServices(tokenServices());
    }
注意,在授权码模式中,我们配置的 AuthorizationCodeServices 现在不需要了,取而代之的是authenticationManager。
那么这个 authenticationManager 实例从哪里来呢?这需要我们在 Spring Security 的配置中提供,这里直接上代码,在SecurityConfig 中添加:
    /*
    * 认证管理器
    * */
    @Override
    @Bean
    protected AuthenticationManager authenticationManager() throws Exception {
        return super.authenticationManager();
    }
配置完成后,重启 auth-server。
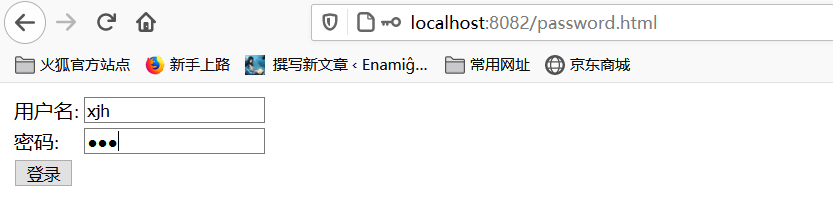
接下来配置 client-app,首先我们添加登录功能,修改 password.html
<!DOCTYPE html>
<html lang="en" xmlns:th="http://www.thymeleaf.org">
<head>
    <meta charset="UTF-8">
    <title>Title</title>
</head>
<body>
<form action="/login" method="post">
    <table>
        <tr>
            <td>用户名:</td>
            <td><input type="text" name="username"></td>
        </tr>
        <tr>
            <td>密码:</td>
            <td><input type="password" name="password"></td>
        </tr>
        <tr>
            <td><input type="submit" value="登录"></td>
        </tr>
    </table>
</form>
<h1 th:text="${msg}"></h1>
</body>
</html>
这一个简单的登录功能没啥好说的。
我们来看登录接口:
LoginController:
@Controller
public class LoginController {
    @Autowired
    RestTemplate restTemplate;

    @PostMapping("/login")
    public String login(String username, String password , Model model){
        MultiValueMap<String,String> map=new LinkedMultiValueMap();
        map.add("username",username);
        map.add("password",password);
        map.add("client_id","xjh");
        map.add("client_secret","123");
        map.add("grant_type","password");
        Map resp = restTemplate.postForObject("http://localhost:8080/oauth/token", map, Map.class);
        System.out.println(resp);

        HttpHeaders headers=new HttpHeaders();
        headers.add("Authorization","Bearer"+ resp.get("access_token"));
        HttpEntity<Object> entity=new HttpEntity<>(headers);
        ResponseEntity<String> entitys = restTemplate.exchange("http://localhost:8081/hello", HttpMethod.GET, entity, String.class);
        model.addAttribute("msg",entitys.getBody());
        return "password.html";
    }

    @RequestMapping("/password.html")
    public String loginpage(){
        return "password";
    }
}
- grant_type:表示授权类型,此处的值固定为”password“,必选项。
- username:表示用户名,必选项。
- password:表示用户的密码,必选项。
- scope:表示权限范围,可选项。
在登录接口中,当收到一个用户名密码之后,我们通过 RestTemplate 发送一个 POST 请求,注意 post 请求中,grant_type 参数的值为 password,通过这个请求,我们可以获取 auth-server 返回的 access_token
{access_token=02e3a1e1-925f-4d2c-baac-42d76703cae4, token_type=bearer, refresh_token=836d4b75-fe53-4e41-9df1-2aad6dd80a5d, expires_in=7199, scope=all}提取 access_token 之后,接下来去请求资源服务器,并将访问到的数据放在 model 中。
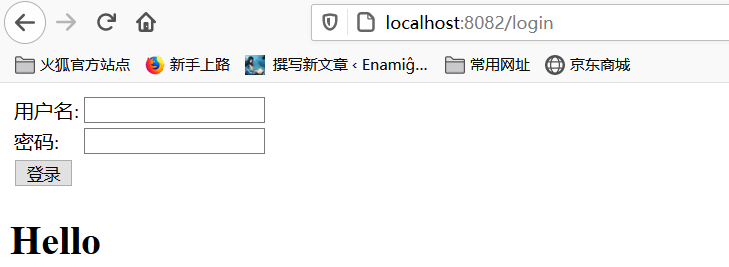
OK,配置完成后,启动 client-app,访问http://localhost:8082/index.html 页面进行测试。
测试