阅读完需:约 4 分钟
简化模式(implicit grant type)不通过第三方应用程序的服务器,直接在浏览器中向认证服务器申请令牌,跳过了”授权码”这个步骤,因此得名。所有步骤在浏览器中完成,令牌对访问者是可见的,且客户端不需要认证。
它的步骤如下:
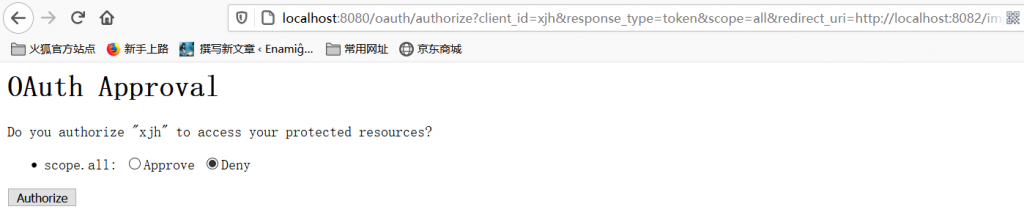
(A)客户端将用户导向认证服务器。
(B)用户决定是否给于客户端授权。
(C)假设用户给予授权,认证服务器将用户导向客户端指定的”重定向URI”,并在URI的Hash部分包含了访问令牌。
(D)浏览器向资源服务器发出请求,其中不包括上一步收到的Hash值。
(E)资源服务器返回一个网页,其中包含的代码可以获取Hash值中的令牌。
(F)浏览器执行上一步获得的脚本,提取出令牌。
(G)浏览器将令牌发给客户端。
基本的代码和上一篇一样,我们所需要做的就只是做一些改变就好了:
首先,我们在授权服务器中,增加如下配置表示支持简化模式:
//客户端详细信息服务配置
    @Override
    public void configure(ClientDetailsServiceConfigurer clients) throws Exception {
        clients.inMemory()//在内存中
                //用户
                .withClient("xjh")
                //密码
                .secret(passwordEncoder.encode("123"))
                //资源编号
                .resourceIds("res1")
                //授权的赠款类型 authorization_code 授权码模式,refresh_token 刷新Token , implicit 简化模式 , password 密码模式
                .authorizedGrantTypes("authorization_code","refresh_token","implicit","password","client_credentials")
                //范围
                .scopes("all")
                //自动批准
//                .autoApprove(true)
                //重定向Uris
                .redirectUris("http://localhost:8082/index.html","http://localhost:8082/password.html");
    }
只需要在 authorizedGrantTypes 开启简化模式 implicit 即可
配置完成后,重启 auth-server。
接下来我们配置资源服务器。因为简化模式没有服务端,我们只能通过 js 来请求资源服务器上的数据,所以资源服务器需要支持跨域,我们修改如下两个地方使之支持跨域:
在 user-server 配置资源服务器的 HelloController 里面改
@RestController
@CrossOrigin(value = "*") //支持跨域
public class HelloController {
    @GetMapping("/hello")
    public String hello(){
        return "Hello";
    }

    @GetMapping("/admin/hello")
    public String admin(){
        return "admin";
    }
}
首先在 Controller 上添加 @CrossOrigin 注解使之支持跨域,然后配置 Spring Security 使之支持跨域:
同样的在 user-server 配置资源服务器的 HelloController ResourceServerConfig 里面改
    @Override
    public void configure(HttpSecurity http) throws Exception {
        http.authorizeRequests()//授权请求
                .antMatchers("/admin/**").hasRole("admin")
                .anyRequest().authenticated()
                .and().cors();//所有要求都过
    }
配置完成后,重启 user-server。
接下来我们来配置第三方应用:
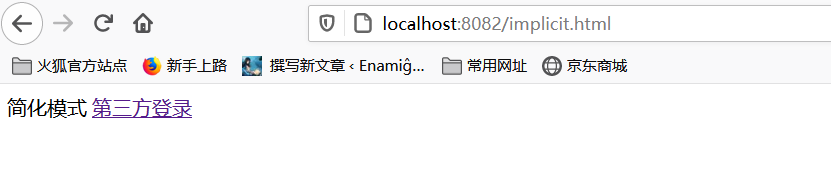
首先我们修改 implicit.html 页面:
<!DOCTYPE html>
<html lang="en">
<head>
    <meta charset="UTF-8">
    <title>Title</title>
<!--    <script src="jquery-3.5.1.js"></script>-->
    <script src="https://ajax.aspnetcdn.com/ajax/jquery/jquery-3.5.1.min.js"></script>
</head>
<body>
简化模式
<a href="http://localhost:8080/oauth/authorize?client_id=xjh&response_type=token&scope=all&redirect_uri=http://localhost:8082/implicit.html">
    第三方登录
</a>
<div id="result">

</div>
<script>
    /*
    * http://localhost:8082/implicit.html#access_token=e2d19714-9144-4b22-bb24-e3eda0de62bd&token_type=bearer&expires_in=7188
    */

    let hash=window.location.hash;
    if(hash && hash.length>0){
        let params=hash.substring(1).split("&");
        let token=params[0].split("=");
        $.ajax({
            type:'get',
            headers:{
                'Authorization' : 'Bearer' + token[1]
            },
            url:'http://localhost:8081/hello',
            success:function (data) {
                $('#result').html(data);
            }
        })
    }
</script>
</body>
</html>
还是之前的超链接不变,但是我们将 response_type 的值修改为 token,表示直接返回授权码,其他参数不变。
这样,当用户登录成功之后,会自动重定向到http://localhost:8082/index.html 页面,并且添加了一个锚点参数,类似下面这样:
http://localhost:8082/index.html#access_token=9fda1800-3b57-4d32-ad01-05ff700d44cc&token_type=bearer&expires_in=1940所以接下来,我们就在 js 中提取出#后面的参数,并进一步解析出 access_token 的值。拿着 access_token 的值,我们去发送一个 Ajax 请求,将 access_token 放在请求头中,请求成功后, 将请求到的数据放在div里。
测试